
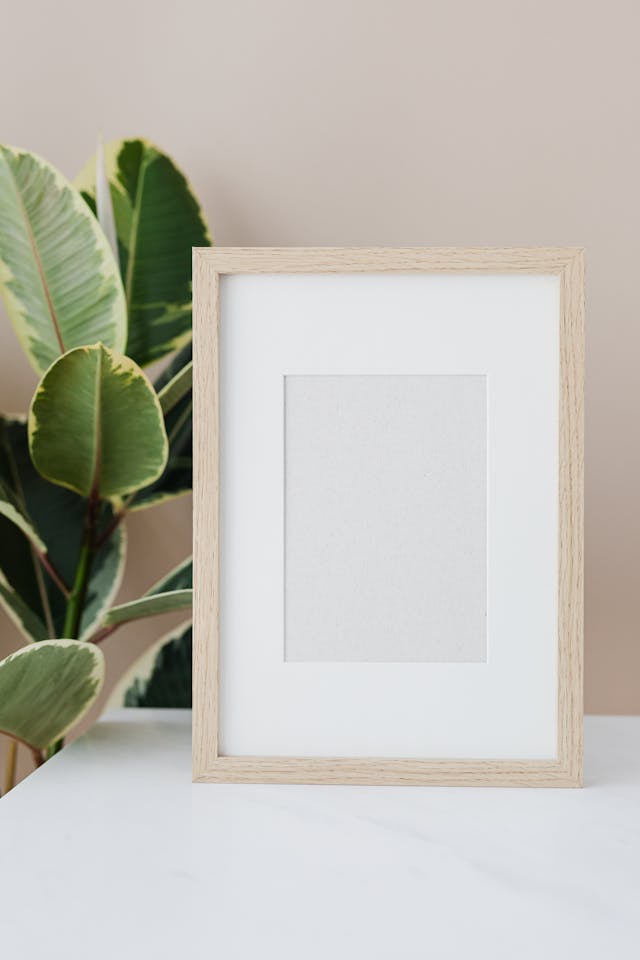
how to make a wood frame
Making a wood frame is a straightforward DIY project that can be accomplished with basic woodworking tools and materials. Here's a simple guide on how to make a square wooden picture frame:
Materials:
Wood boards (e.g., pine, oak) - Choose the dimensions based on the size of the frame you want.
Miter saw or miter box and hand saw
Wood glue
Clamps
Brad nails or screws (and a nailer or screwdriver)
Sandpaper (various grits)
Paint, stain, or finish of your choice (optional)
Steps:

Measure and Cut the Wood:
Determine the size of the frame you need. Add twice the width of the board to the length and height to account for both sides of the frame (e.g., if you want a 8x10" photo, you'd need 4 pieces at 10" + width and 4 pieces at 8" + width).
Cut four pieces of wood to these lengths using a miter saw set at a 45-degree angle. You should have two pairs, each pair mirroring the other so they form corners when joined.
Cut Miters:
For each corner, cut one end of the board at a 45-degree angle. Flip the board over and measure the exact length needed for the opposite side, then cut another 45-degree angle. Do this for all four pieces so that when the corners are put together, they form a perfect 90-degree angle.
Dry Fit:
Lay out the pieces to form a rectangle, checking that the mitered corners fit snugly. Adjust any cuts as necessary.
Assemble the Frame:
Apply a thin line of wood glue along the edge of one mitered joint.
Press the two pieces together firmly to create a tight joint.
Use clamps to hold the joint in place while the glue dries. Repeat for all four corners.
Secure Joints:
Once the glue has dried enough to hold the frame together, reinforce the joints by driving brad nails or screws through the corners at an angle into both pieces of wood. Be careful not to split the wood.
Finish Work:
After the frame is fully assembled and dry, sand it down with progressively finer grits until it’s smooth.
Fill any nail holes or gaps with wood filler if desired, then sand again once dry.
Apply your chosen paint, stain, or finish according to the manufacturer's instructions.
Attach Hangers:
If you plan to hang the frame, attach D-rings or sawtooth hangers on the backside.
Remember to always wear safety gear such as goggles and gloves when working with power tools. And take care to measure accurately and work safely throughout the process. This method creates a simple flat frame; for more complex designs, additional joinery techniques may be required.
